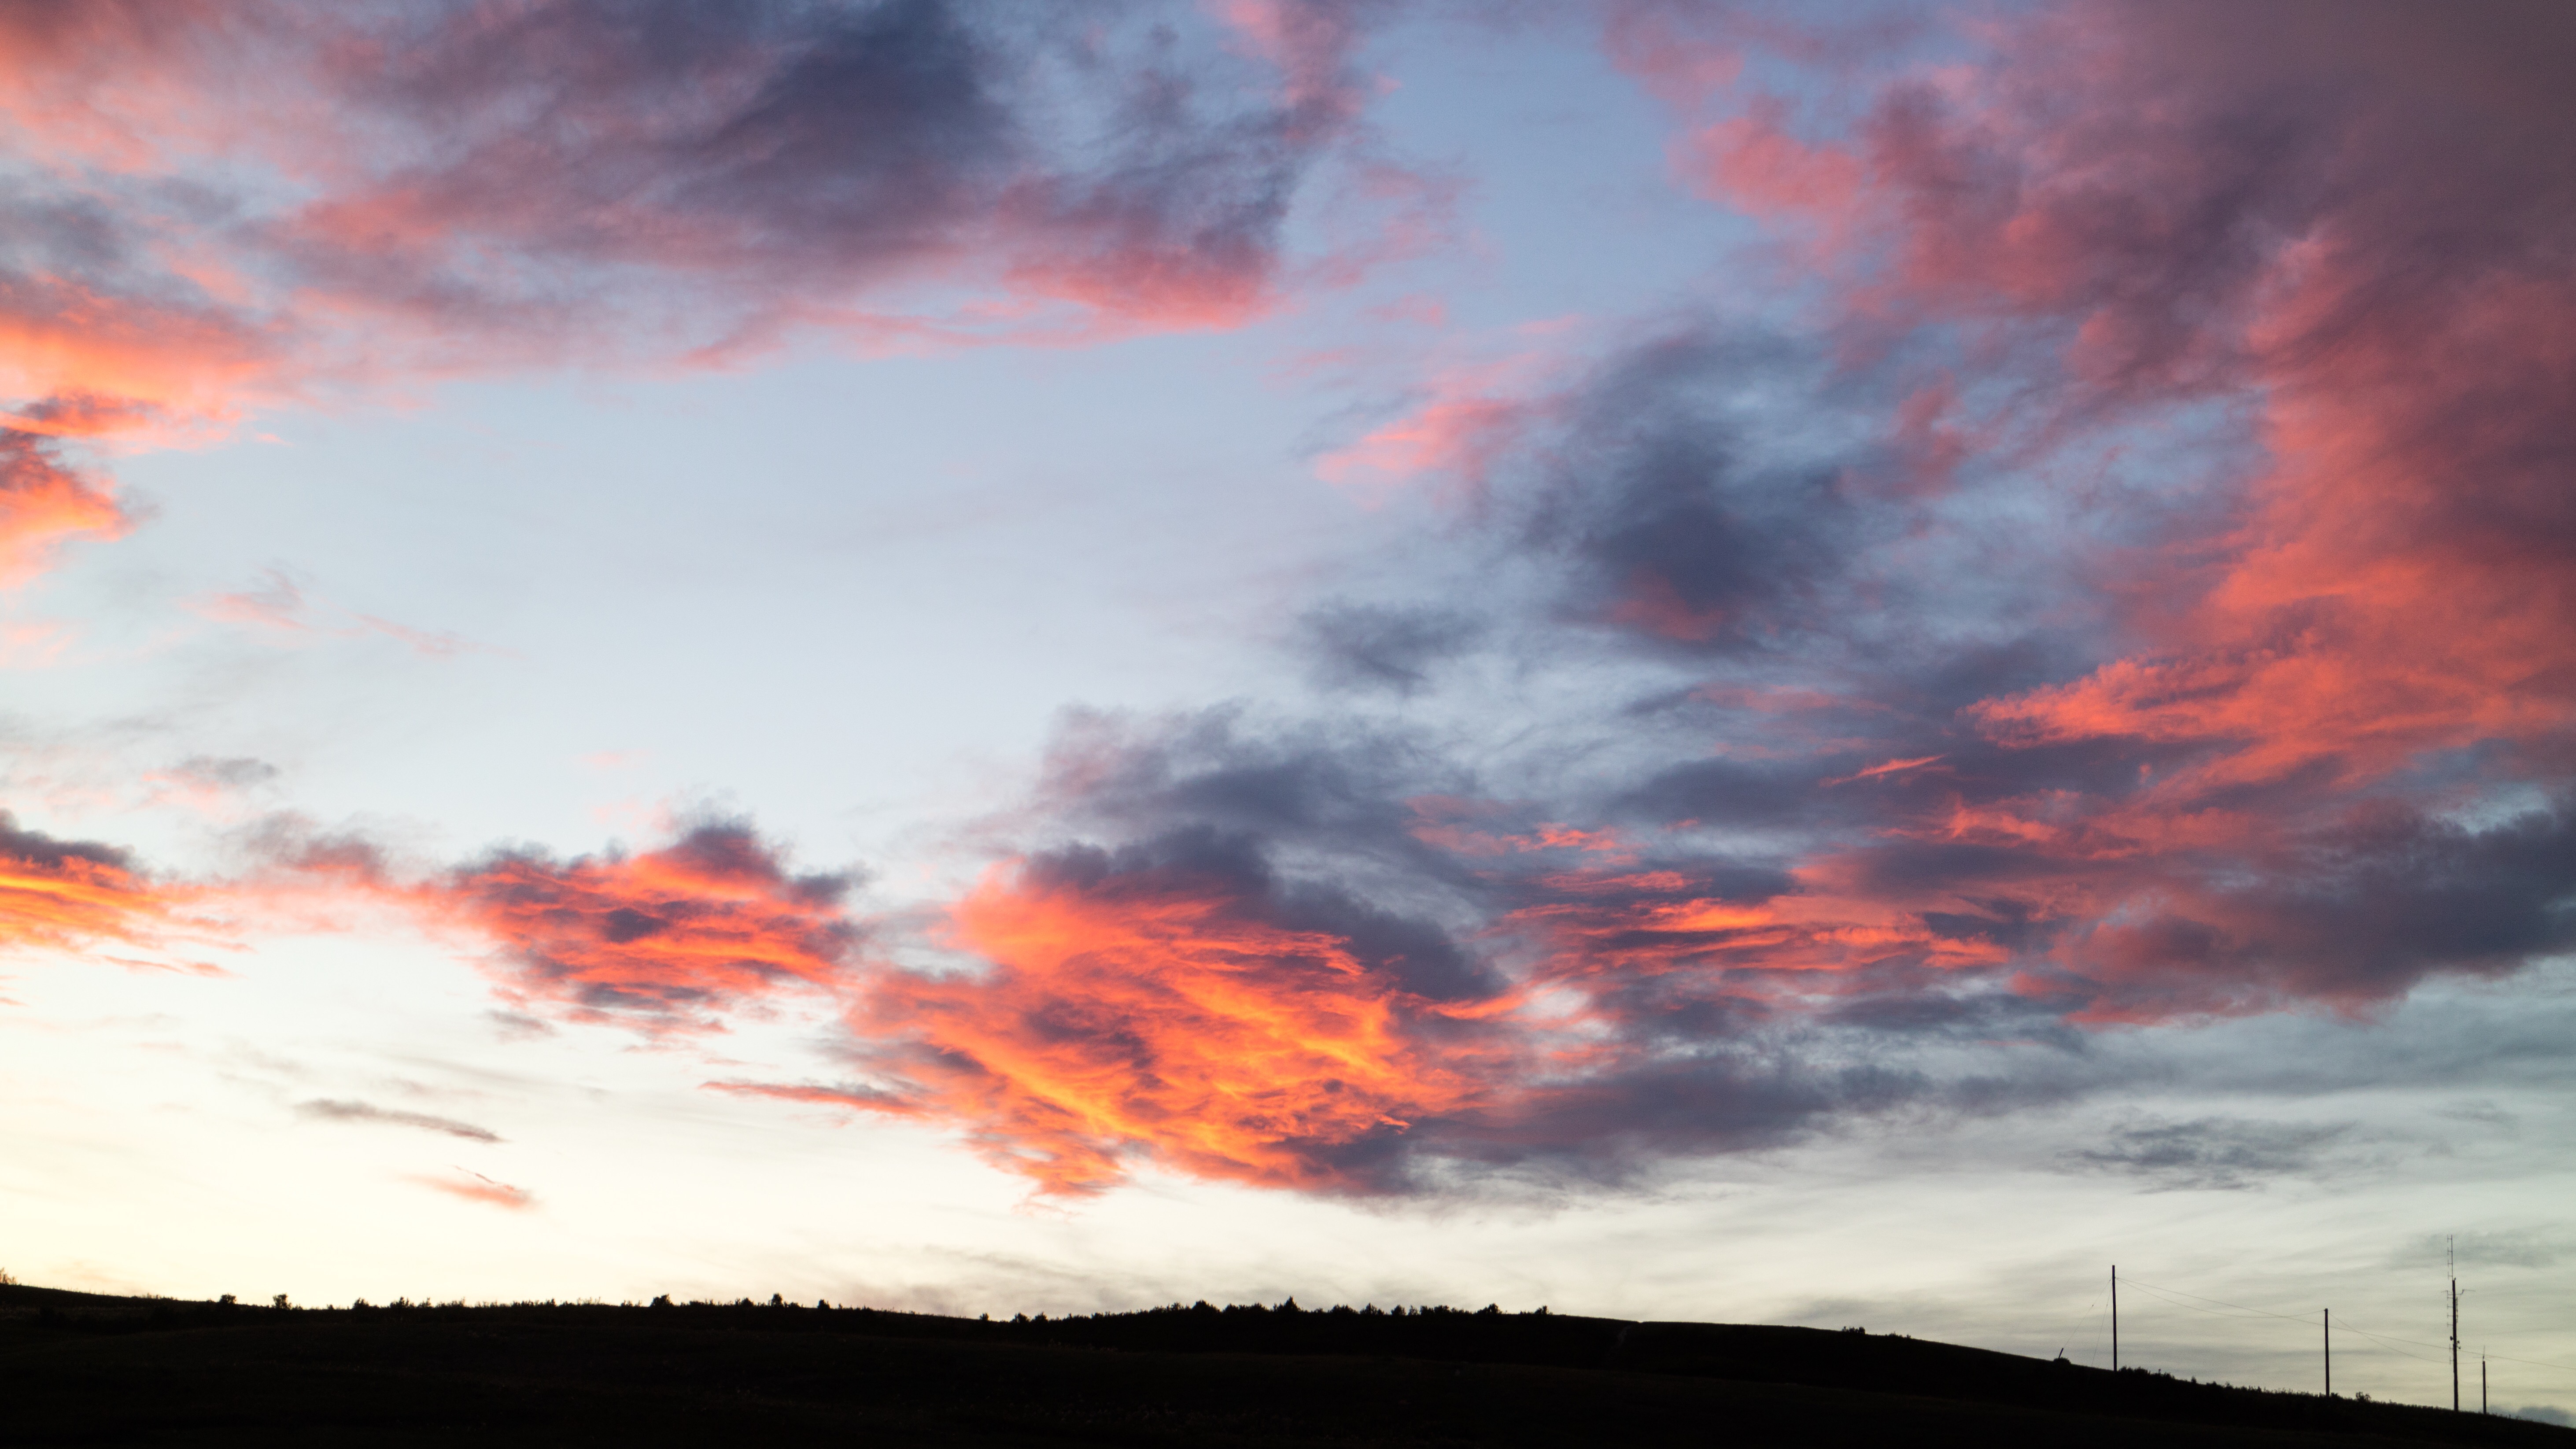
Last night, while the rest of Canada watched the live feed from the Tragically Hip’s farewell concert, I perched myself atop Nose Hill Park to work on a Time-Lapse video project I’ve been planning.
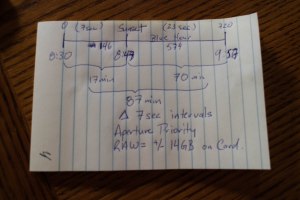 As you can see, I wanted to capture the sunset, including approximately 7 seconds prior to sunset, then the entire Golden Hour, plus a little extra. As you can see, I had worked out needing 720 captures, at 7 second intervals to make a 30 second video. I also worked out that I would need roughly 14Gb on my camera’s memory card in order to hold all of those RAW photos.
 Here, we see the setup of my main shooting rig. The “Beast” (as I refer to my Canon 60D) is set up on the tripod with its legs splayed wide for stability. I run Magic Lantern, which gives me the software capabilities not found on Canon bodies of this vintage. Finally, I have my Canon 17-40mm f4L lens mounted, with the (almost useless) hood on it.
I set up a little early, as I wanted time to wander around the site & try to find a good viewing angle. I knew that as the evening wore on, my shutter speed would drop dramatically, giving me longer & longer exposures.
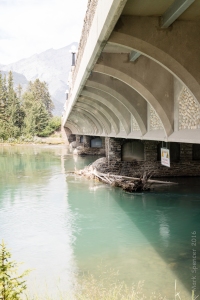
While the Beast was capturing frames for the video, I took some other pictures on my Canon M3 to pass the time.
I ran into some technical difficulties, as I hadn’t considered the fact that the intervalometer restarts once the shutter opens. As the exposures get longer, there isn’t enough time for the processor to “write” the file. As the evening wore on, I had to keep resetting the intervalometer. Note to self: when the time taken to capture the photo is equal to the time between captures, the buffer fills & the camera simply stops ! Hence, I only captured 527 of my planned 720 frames.
 The first cut of the video used a straightforward process. I imported to Lightroom, edited the first frame & applied those changes to all the remaining frames. Then import it into Photoshop to render the time-lapse video. Frankly, I was underwhelmed ! The first thing I realized was that locking the ISO in at 160 was a bad (very bad) idea ! As the evening grew on, the shutter needed to be open SOOOO much longer to capture the scene. I have since started exploring “ISO Ramping”; more on that in another post. The video is flickery and the light just seems to drop.
 The second and final cut of the video followed a completely different workflow. In researching how to “deflicker” a video, I stumbled across a tool called LRTimelapse. It is a tool that is designed to work out the differences between the images – say when the ISO or aperture changes, and smooth those effects over. As you can see, the differences are night & day !
Note: I don’t know why I can’t create links to the videos on the thumbnails. Please click the links to the right. Thanks ! 😄